


Painting window trim can be tedious, often leading to messy results and frustration.
Many homeowners struggle with achieving a clean, professional look when tackling this home improvement project.
I’m here to tell you that painting window trim doesn’t have to be difficult or stressful.
With the right approach, you can get beautiful results that will make your windows shine.
In this post, I’ll explain 6 simple steps to painting your window trim like a pro.
You’ll learn the best techniques, tools, and tips to ensure a smooth, long-lasting finish.
By the end, you’ll know how to transform your window trim confidently.
How to Paint Window Trim?
Many homeowners find painting window frames challenging.
It often results in untidy results and can be quite frustrating.
However, with the right approach, you can achieve a polished look that will enhance the appearance of your windows.
You’ll discover useful techniques, learn about the best tools, and gain insights to ensure a smooth, enduring finish.
Material Required
- A high-quality paint suitable for your frame material
- Wood filler (if necessary)
- Sealing compound and applicator
- Scraper
- Fine-grit sandpaper
- Angled paintbrush
- Protective sheets
- Pointed cotton buds
- Protective tape or a specialized masking product
Step 1: Gather Your Materials and Prepare the Area
Start by collecting all necessary items: quality paint suitable for your trim material, fine-grit sandpaper, wood filler, caulk, a putty knife, an angled paintbrush, drop cloths, and cleaning supplies.
Choose a day with moderate temperature and humidity for optimal painting conditions.
Cover the floor and any nearby furniture with drop cloths. Remove or tape off any hardware on the trim.
Open windows for ventilation, ensuring a safe and clean workspace.
Step 2: Clean and Repair the Trim
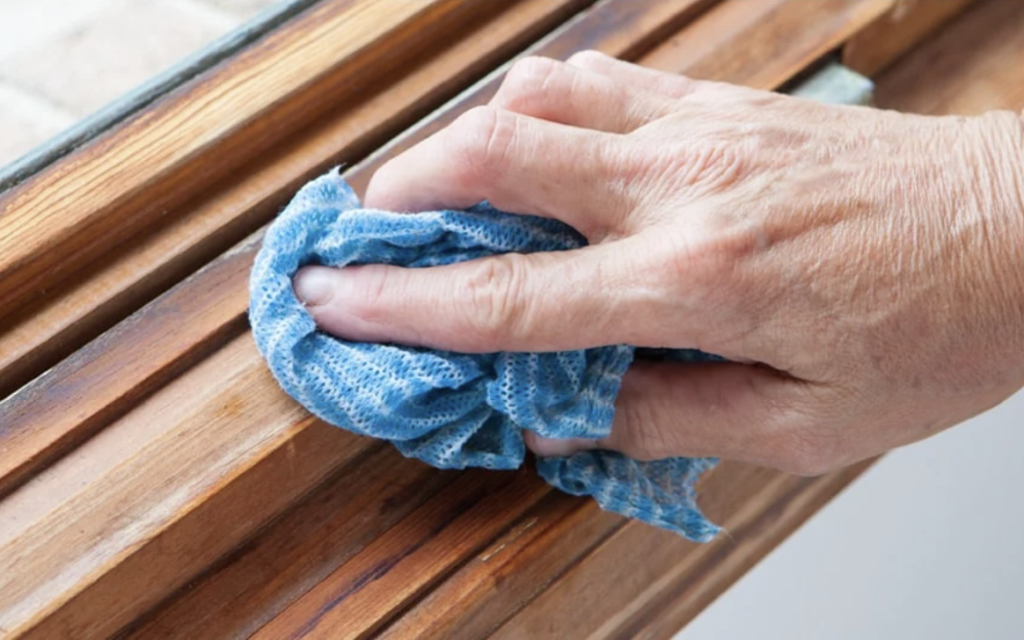
Begin by thoroughly cleaning the trim.
Use a mild detergent solution to remove dirt, grime, and oils that could interfere with paint adhesion.
Rinse with clean water and allow to dry completely.
Inspect the trim for damage.
Use a putty knife to fill nail holes or small cracks with wood filler.
Once dry, sand these areas smooth.
For gaps between the trim and wall, apply a thin bead of caulk and smooth it with a damp finger.
Allow all repairs to dry fully before proceeding.
Step 3: Sand and Prime the Surface
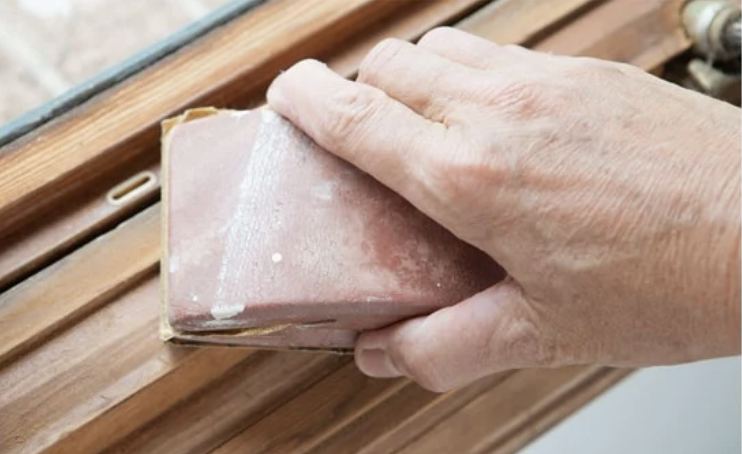
Lightly sand the entire trim surface with fine-grit sandpaper.
This creates a slightly rough texture that helps the new paint adhere better.
After sanding, remove all dust with a vacuum or tack cloth.
If you’re making a significant color change or working with bare wood, apply a coat of primer.
This improves paint coverage and adhesion.
Allow the primer to dry completely, then lightly sand again for an ultra-smooth base.
Step 4: Protect the Surrounding Areas
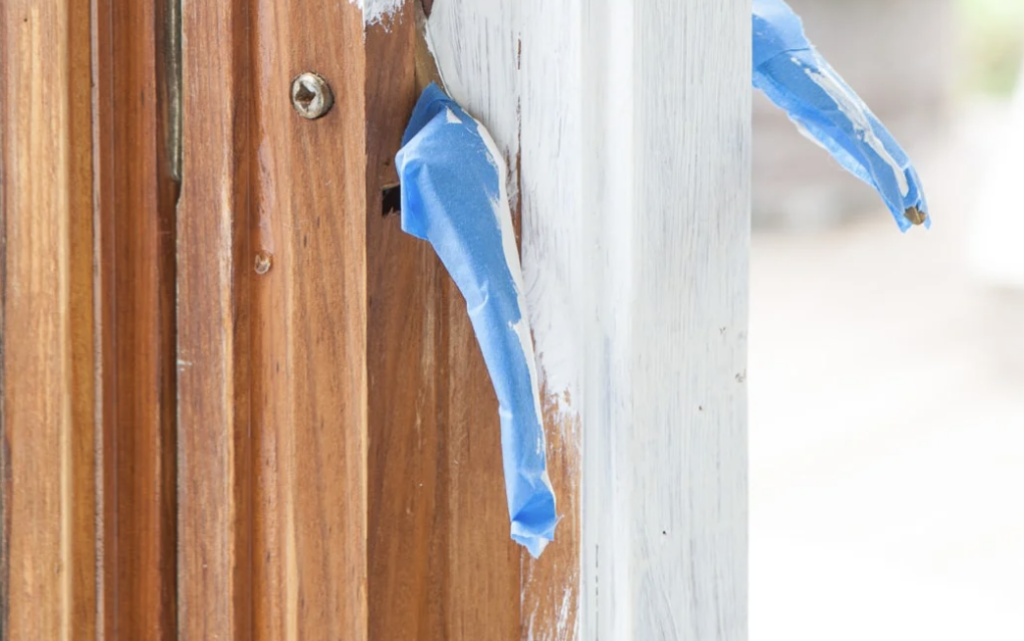
Protect areas you don’t want to be painted to achieve clean lines.
Apply painter’s tape along the edges where the trim meets the wall and window glass.
Press the tape down firmly to prevent paint bleed.
For added protection on the glass, you can apply a liquid masking product or a thin layer of petroleum jelly along the edge where the glass meets the trim.
This makes it easier to remove any accidental paint splatters later.
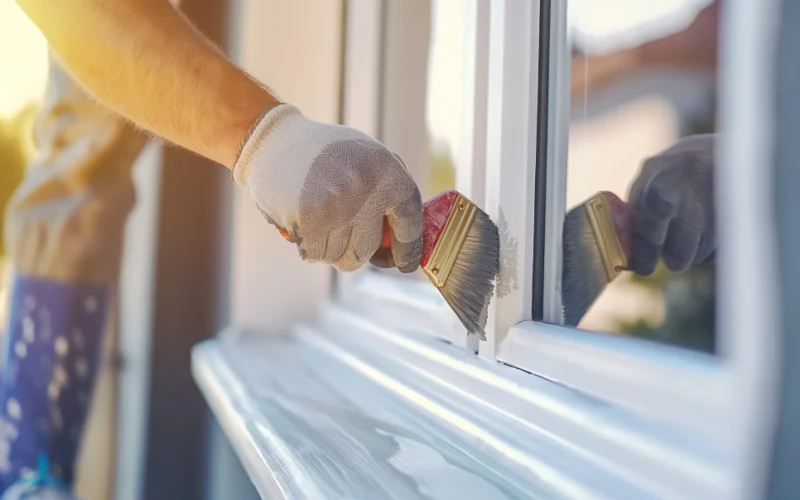
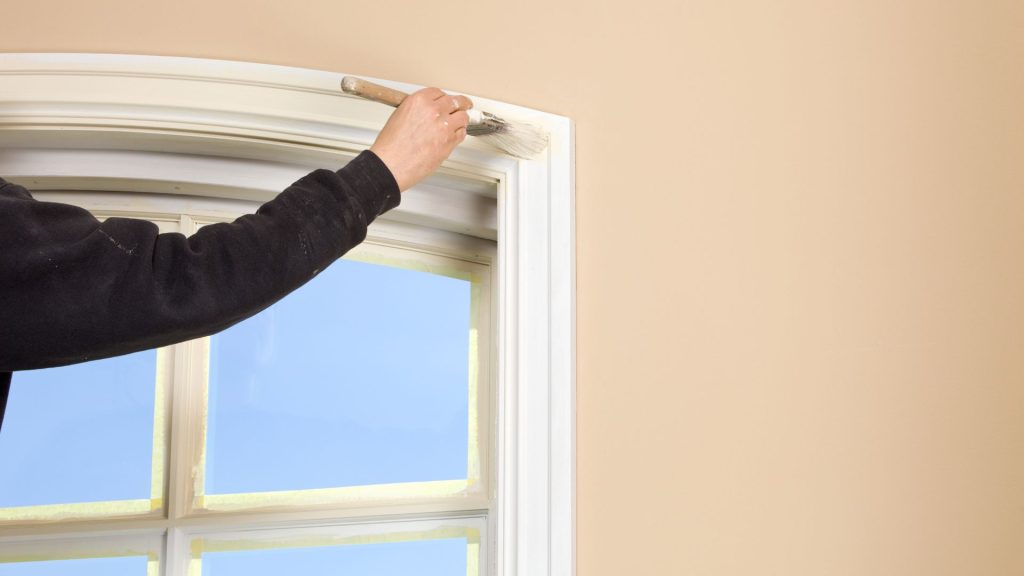
Step 5: Apply the Paint
Using your angled brush, begin painting at the top of the trim and work your way down.
This allows you to catch any drips as you go.
Apply the paint in long, smooth strokes, always working in the same direction.
Don’t overload your brush – applying two thin coats is better than one thick one.
Pay extra attention to corners and edges, ensuring paint enters all crevices.
After applying paint to a section, lightly “tip off” by running your brush over the wet paint in one direction to eliminate brush marks.
Allow the first coat to dry completely according to the manufacturer’s instructions.
Then, lightly sand the surface, remove dust, and apply a second coat for better coverage and durability.
Step 6: Clean Up and Finish

Carefully remove any painter’s tape once your final coat is dry.
Pull the tape away at a 45-degree angle to avoid peeling off fresh paint.
If you used a masking product on the glass, peel it off following the product instructions.
Inspect your work for any missed spots or imperfections.
Touch up as needed.
If any paint gets on the glass, wait until it’s fully dry, then carefully scrape it off with a razor blade.
Finally, reattach any hardware you removed.
To prevent sticking, allow the paint to cure fully (usually 24-48 hours) before closing windows or doors.
By following these detailed steps, you’ll achieve a professional-looking finish on your window trim, enhancing the appearance of your windows and the entire room.
Tips and Tricks for Painting Window Trim
1. Choose the Right Paint
- Pick a paint that matches your trim material.
- For wood or MDF, use high-quality latex paint in semi-gloss or gloss.
- Vinyl and metal trims need special exterior paints made for those surfaces.
- If working with unfinished trim, use a primer first for better paint adhesion.
2. Get the Right Tools
- Use a 1 to 2-inch angled brush for precise application.
- Invest in quality brushes – they make a big difference in the final result.
- Have sandpaper, putty knife, and caulk on hand for prep work.
3. Prep Thoroughly
- Remove peeling paint and sand the surface smooth.
- Clean off all dust and grime.
- Fill gaps with caulk and let it dry completely.
- Good prep is key to a professional-looking finish.
4. Protect the Glass
- Use painter’s tape or a liquid masking product to avoid paint on the window panes.
- Another trick is applying a thin layer of lip balm where the glass meets the trim – the paint wipes off easily from this later.
5. Paint in The Right Conditions
- Choose a day with mild weather – not too hot, cold, or humid.
- This helps the paint dry properly and prevents bubbling or slow drying.
6. Use the Right Technique
- Start with a thin coat and let it dry fully.
- Sand lightly between coats for a smoother finish.
- Apply at least two coats for good coverage and durability.
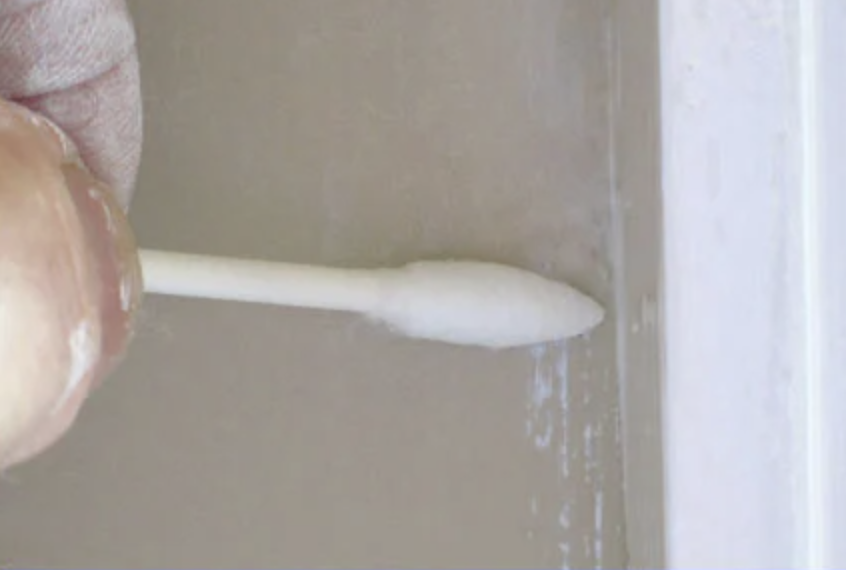
7. Clever Clean-Up Tricks
- Keep pointy cotton swabs handy to quickly clean up any mistakes or drips.
- They’re great for getting into tight corners where the trim meets the wall.
8. Remove Painter’s Tape Carefully
- If using tape, remove it before the paint fully dries to avoid peeling off your fresh paint job.
- If the paint has dried, score along the edge with a utility knife before removing the tape.
9. Deal with Paint on Glass
- If you get paint on the window glass, let it dry completely.
- Then, use a razor blade scraper, held parallel to the glass, to scrape it off.
- Spray glass cleaner first to help the blade glide smoothly.
10. Consider Removing Hardware
- If possible, remove window locks, cranks, or other hardware before painting.
- This gives a cleaner finish and is often easier than painting around these items.
11. Don’t Forget the Details
- Look closely for missed spots, especially in corners or edges, after your first coat dries.
- Fill these in during your second coat for a complete, professional look.
12. Be Patient with Drying Times
- Allow each coat to dry fully before applying the next or removing any masking.
- This patience pays off with a smoother, more durable finish.
13. Consider Updating Hardware
- While refreshing your trim, consider whether your window hardware could also use an update.
- New locks or cranks can complement your freshly painted trim nicely.
14. Keep Your Paint Clean
- Pour some paint into a separate container for working.
- This frees your main paint from dust and debris affecting your finish.
15. Plan For Touch-Ups
- Save a small amount of your paint for future touch-ups.
- Label it with the color and date for easy reference later.
By following these tips and tricks, you can achieve a professional-looking paint job on your window trim, enhancing the overall appearance of your windows and room.
Conclusion
Following these six steps, you’ve learned how to transform your window trim like a pro.
Remember, success lies in careful preparation and patience.
Taking time to clean, repair, and prime creates the foundation for a beautiful finish.
Protecting surrounding areas ensures clean lines while applying paint with care, which results in a smooth, long-lasting coat.
Freshly painted trim can dramatically enhance a room’s appearance, making windows look crisp and new.
It’s an affordable way to update your space, making rooms feel brighter and more spacious.
So gather your supplies and start refreshing your window trim.
You’re now equipped to give your windows the facelift they deserve.